Managing the Global Invitation Waitlist
If your organization has created and distributed your Global Invitation Link, we strongly recommend an Agency Admin enables the Global Invitation Waitlist setting located under the Client Portal tab from the Agency Admin section of eLogic Genesis.
This article will walk you through how to manage the Global Invitation Waitlist. Topics include:
- Checking the Global Invitation Waitlist
- Accepting Individuals from the Waitlist and Assigning Them to Navigator(s)
Checking the Global Invitation Waitlist
When an individual uses your organization's Global Invitation Link and creates a record in eLogic Genesis, they will immediately be placed on your Global Invitation Waitlist. All staff who have the Client Global Invitation Management role permission enabled will receive a notification.
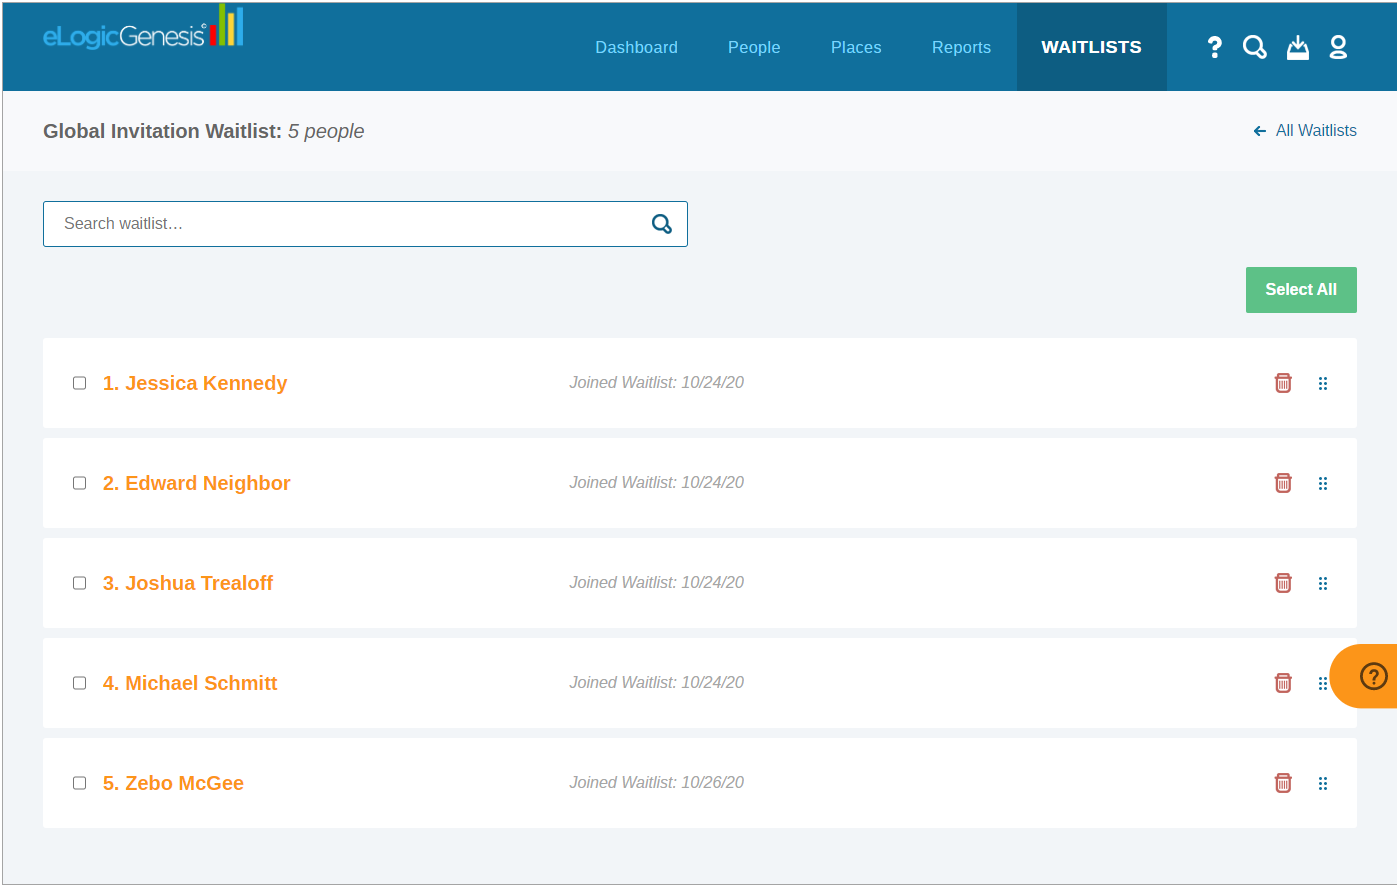
When notified, the assigned navigator(s) will go to Waitlists (located in the eLogic Genesis system navigation bar), locate the Global Invitation Waitlist, then click View Waitlist:

The individuals who created an eLogic Genesis account using your Global Invitation Link are listed:
Important Note: Until an individual is accepted from the Waitlist, they will only have access to their Global Record and will be unable to access their Organization-specific record. It is important that they are accepted from the Waitlist and assigned to a navigator in a timely fashion so they may begin interacting with their record.
Accepting Individuals from the Waitlist and Assigning Them to Navigator(s)
Each individual accepted from the waitlist must be assigned to a navigator. Remember, notifications are delivered only to navigators assigned to the individual's record; assigning individuals to the correct navigator is key.
Accepting individuals from the Global Invitation Waitlist and assigning them to a navigator occurs at the same time:
- Click Waitlists from the system navigation bar
- Locate the Global Invitation Waitlist
- Click View Waitlist
- Select the checkboxes next to each individual individual you wish to assign to the same navigator
- You can also click Select All if all listed individuals will be assigned to the same navigator
- From the Assign user(s) to navigator (required): drop-down list, select the navigator you wish to assign the selected individual(s).
- Double check your individual and navigator selection! Step 6 below cannot be undone and clients must be manually reassigned to another navigator if the wrong navigator was selected.
- Click Accept [#] Clients
- Individuals are now accepted off the waitlist and assigned to the selected navigator. Two system notifications will be sent out automatically:
- the individual will receive a notification they have been assigned a navigator - they can now login and interact with their organization-specific record via the Client Portal
- the navigator will receive a notification they have been assigned to the individual(s)
- The individual('s) records are now active in your organization, can be located using the Global Search tool, and appear in report results
Comments
0 comments
Please sign in to leave a comment.