Places
Topics covered in this article:
Places - The Basics
The Places Page is the centralized location for all Referral Agencies, Employers, and Educational Institutions in eLogic Genesis and is located in the System Navigation Bar.
The Places Page has three major areas and each function available within each section is broken down throughout this article:
- Sub-navigation bar - this is the bar located directly under the System Navigation Bar
- Main Screen - this section contains additional information and tools to filter places displayed
- Places List - each tile displays additional information
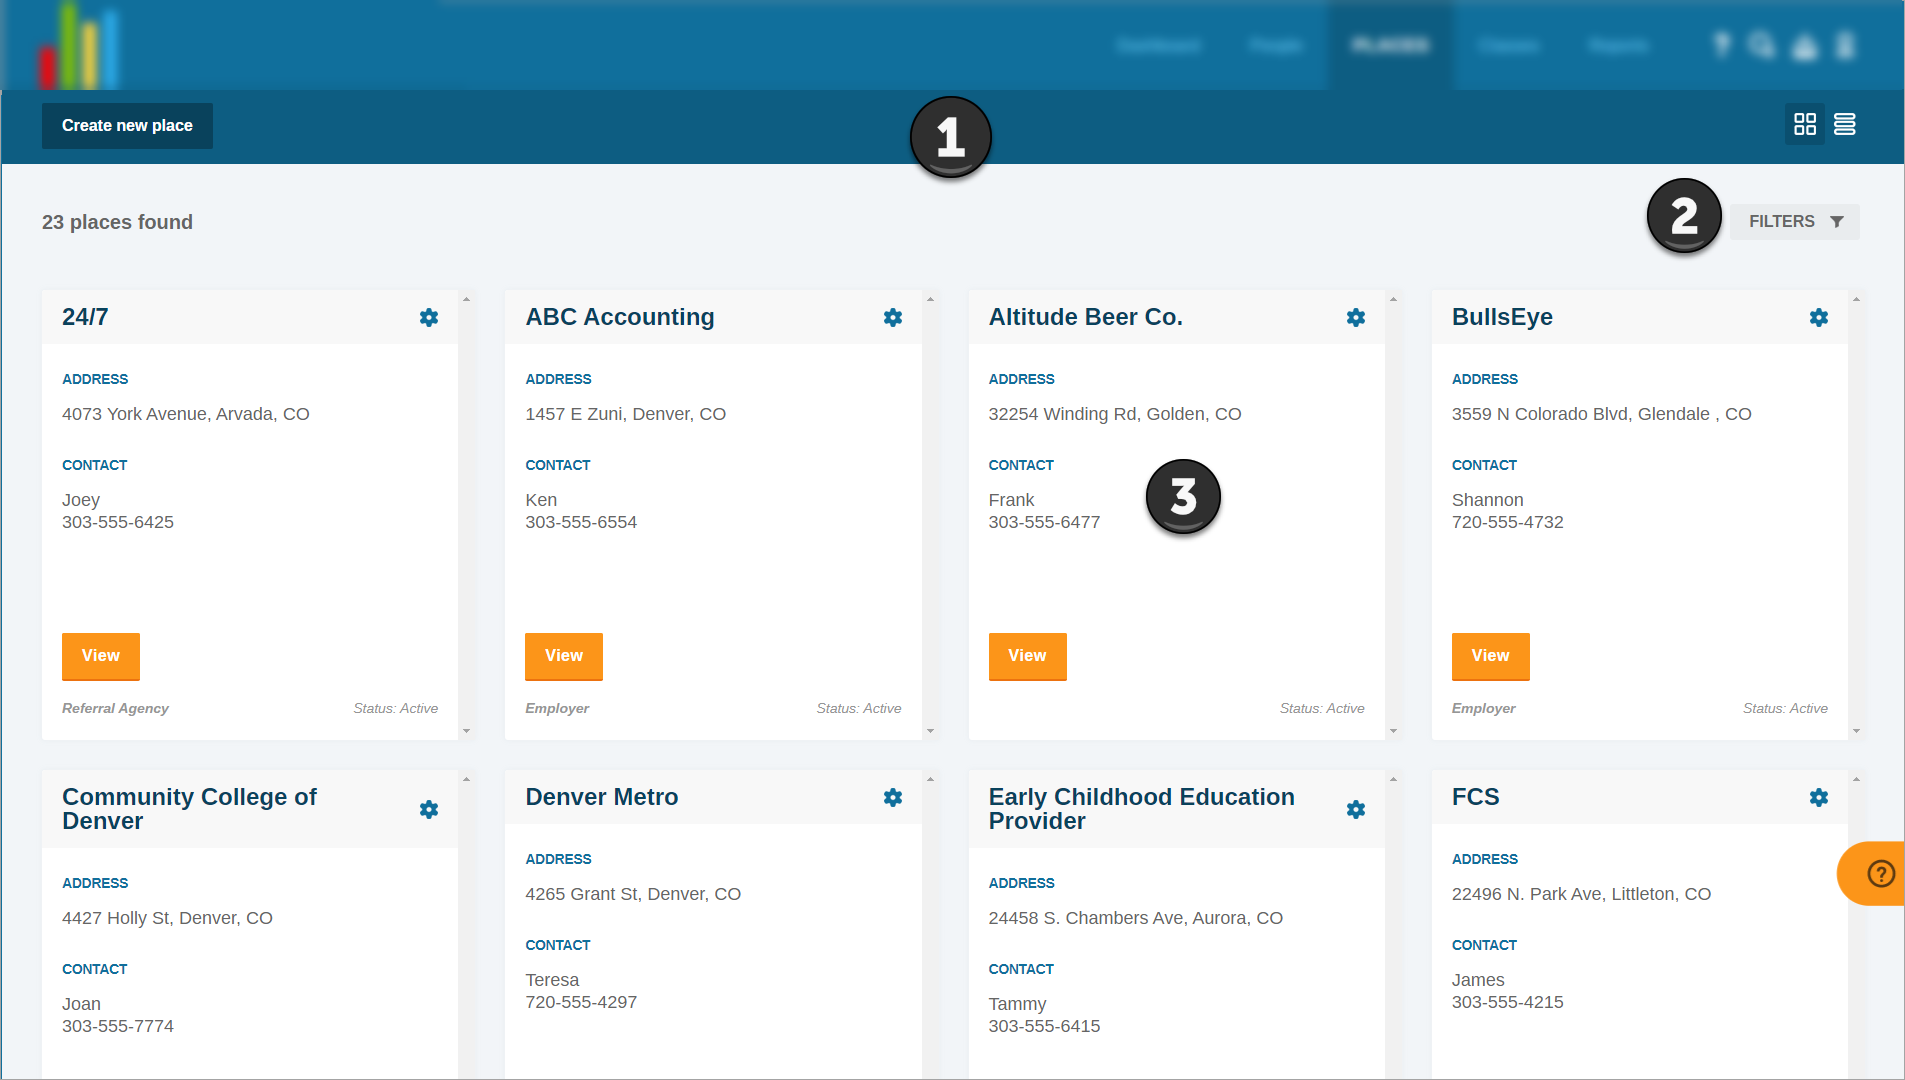
Sub-navigation Bar - Places Page
The sub-navigation bar is the bar located directly under the System Navigation Bar

The Places page's Sub-navigation bar tools and features:
Create New Place
Important!! Before creating a new Place, use the Filter tool on the Places page to see if the Place is already in the system. Places cannot be merged in eLogic Genesis so it is critical that duplicate Places be avoided.
Places can be created in four locations in eLogic Genesis:
- Places Page
- Client Records → Employment tab
- Client Records → Education tab
- Agency Admin → Services → Referral Services
Create New Place - via Places Page
Before creating a new Place, use the Places Page filter to see if the Place already exists in the system.

- Click Places from the system navigation bar
- Click Create new place - screen overlay will appear
- Enter the Place name
- Click Create Place
- Place will be available below and throughout the system for selection
back to Create New Place back to top
Create New Place - via Employment Tab
Before creating a new Employer (Place) under Job Applications or Employment, enter the name of the employer in the corresponding field, then wait to see if the Employer is displayed in the drop-down list.
If the Employer appears in the drop-down list, you must select it to avoid creating a duplicate Place.
If the Employer does not appear in the drop-down list, continue creating the Job Application or Employment.
- Learn how to create a new Job Application
- Learn how to create a new Employment
back to Create New Place back to top
Create New Place - via Education Tab
Before creating a new Educational Institution (Place) under Education, enter the name of the institution in the corresponding field, then wait to see if the institution is displayed in the drop-down list.
If the Educational Institution appears in the drop-down list, you must select it to avoid creating a duplicate Place.
If the Educational Institution does not appear in the drop-down list, continue creating the Job Application or Employment.
- Learn how to document a client's education.
back to Create New Place back to top
Create New Place - via Agency Admin → Referral Services
Before creating a new Referral Agency (Place) under Agency Admin → Referral Services, enter the name of the agency in the corresponding field, then wait to see if the agency is displayed in the drop-down list.
If the Referral Agency appears in the drop-down list, you must select it to avoid creating a duplicate Place.
If the Referral Agency does not appear in the drop-down list, continue creating the Referral Service.
- Click Agency Admin from the system navigation bar
- Click Services
- Click Add Referral Service - area will expand below
- Select Domain from the drop-down list
- Enter the Agency name in the textbox
- If agency name appears in drop-down list below, you must click it to select
- If agency name does not appear in drop-down list below, click Add New Agency above the Agency textbox - screen overlay will appear
- Enter Agency name
- Click Save Agency
- Repeat Step 5
- Enter Service Name in textbox
- Select service Type from drop-down list
- Enter service Cost to be assigned as default (optional)
- Enter service Hours to be assigned as default (optional)
- Click Save Service
back to Create New Place back to top
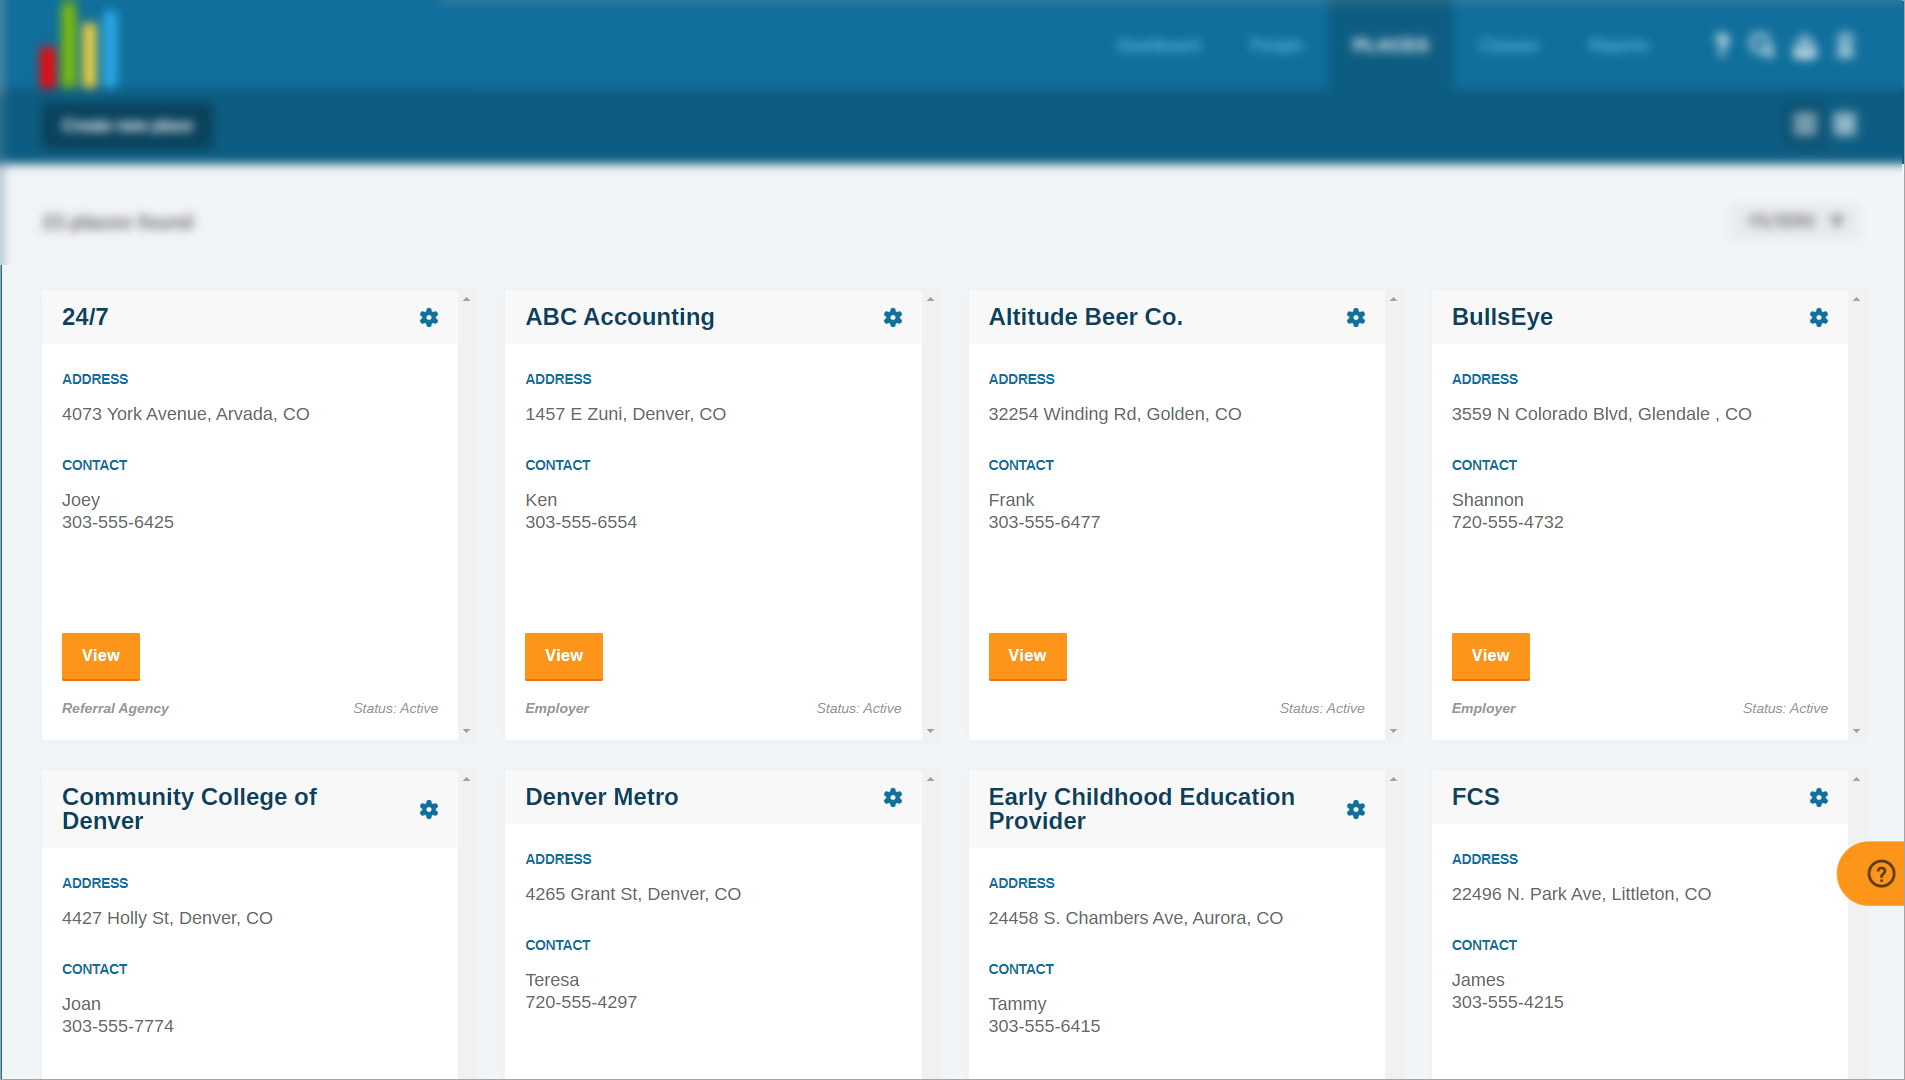
Grid View

Click the Grid View icon to see Place information tiles arranged in boxes on the Places page:
back to Sub-navigation Bar back to top
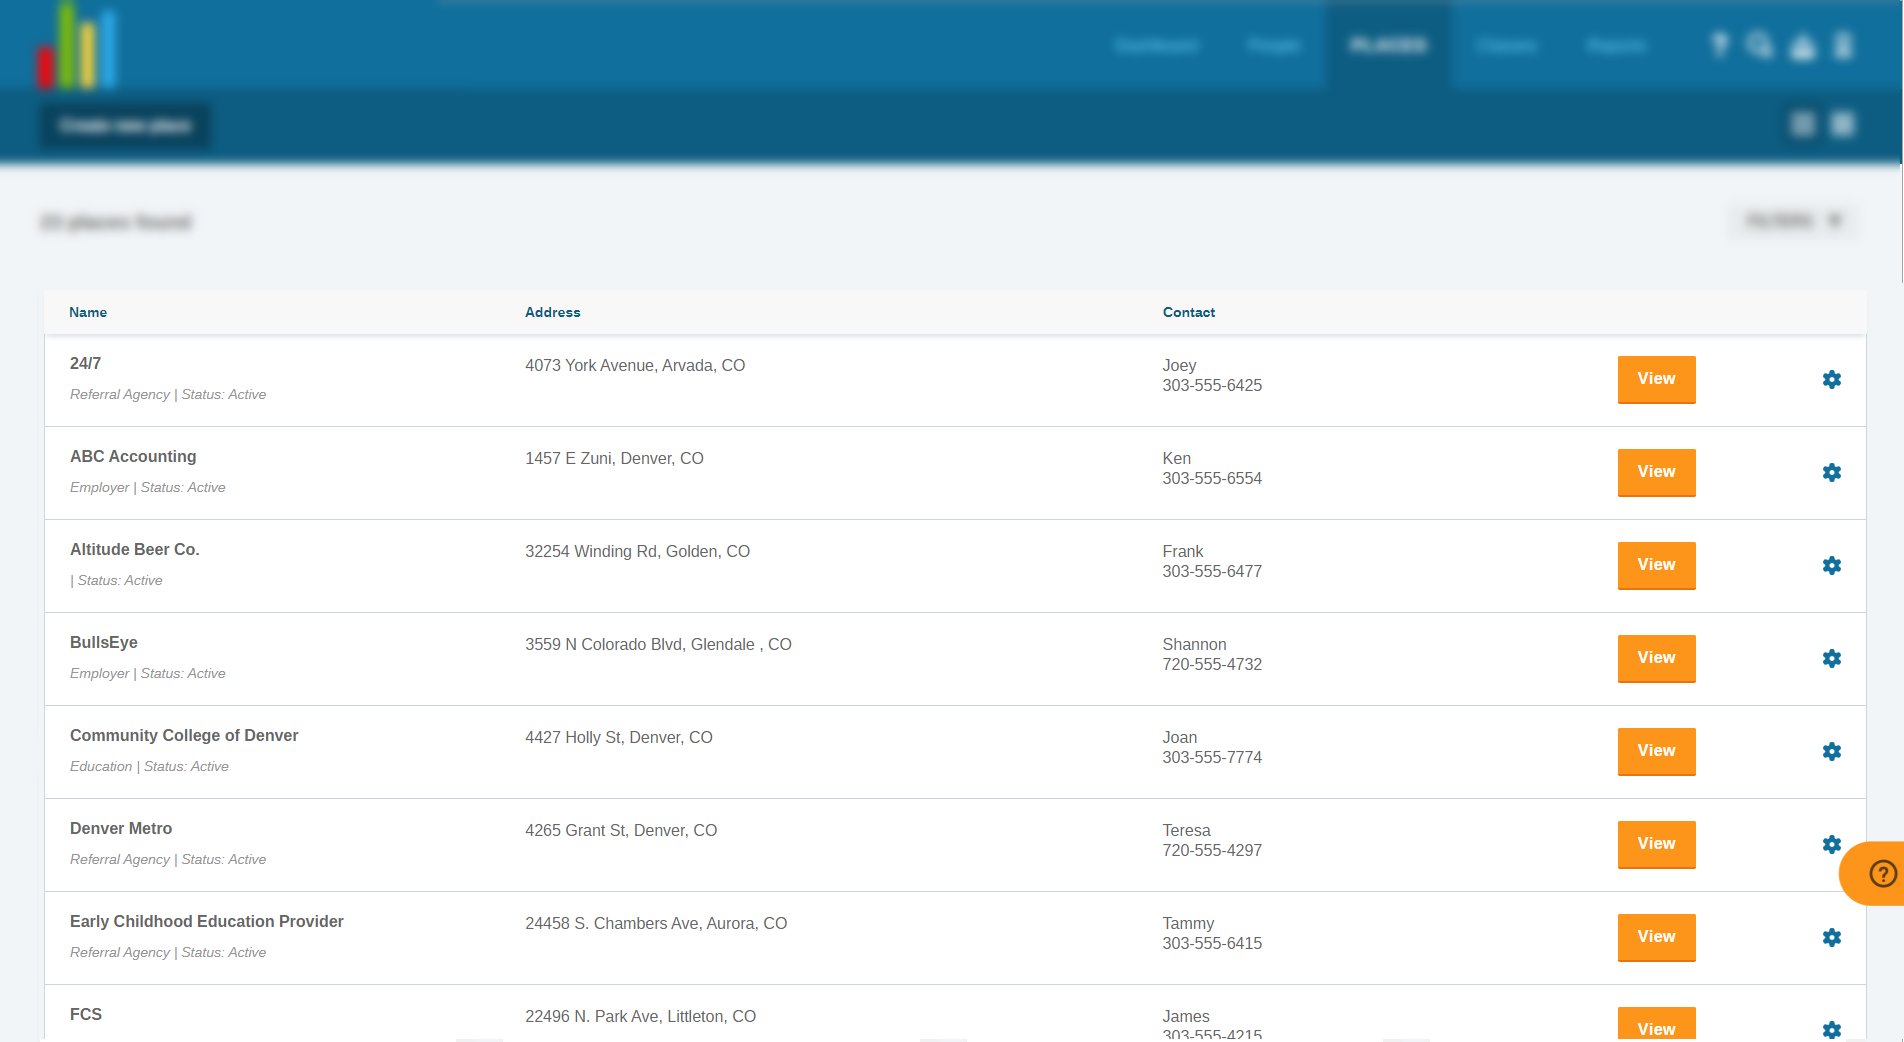
List View

Click the List View icon to see Place information tiles arranged in rows on the Places page:
back to Sub-navigation Bar back to top
Main Screen
The main screen is the area below the sub-navigation bar and above the Places list on the Places page.
Main Screen features and tools:
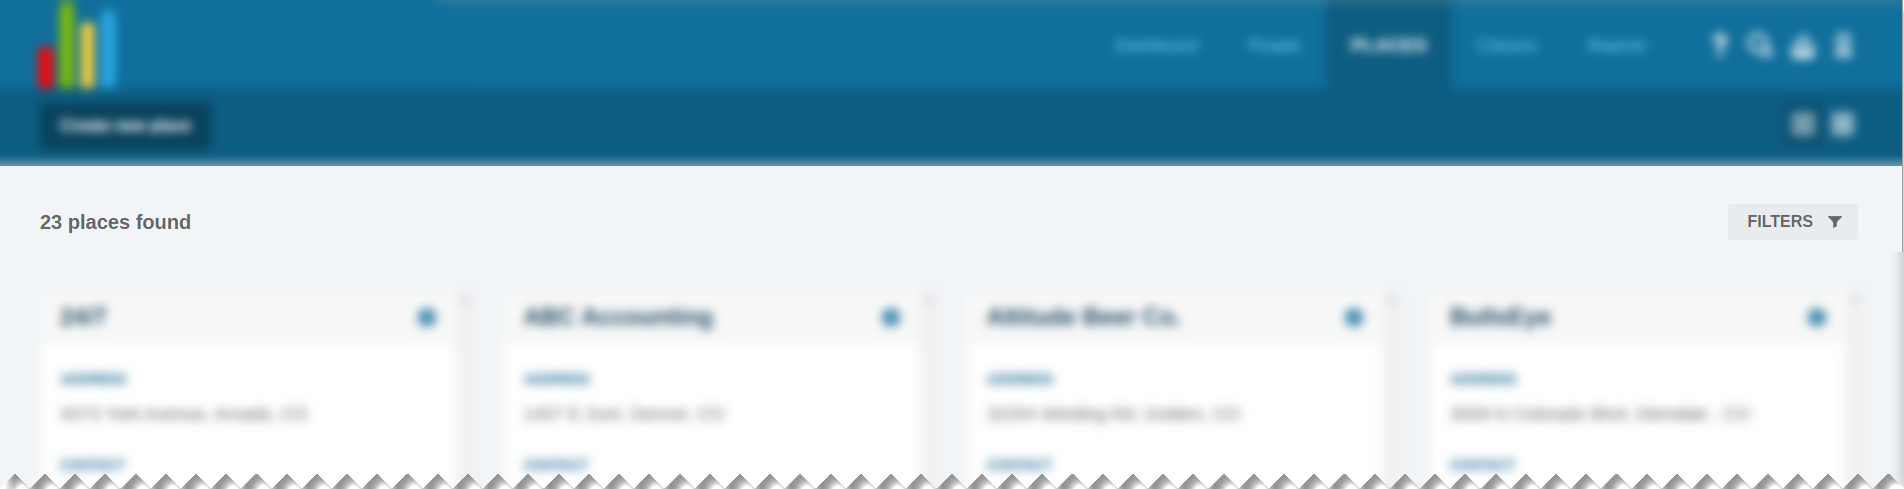
Places Count
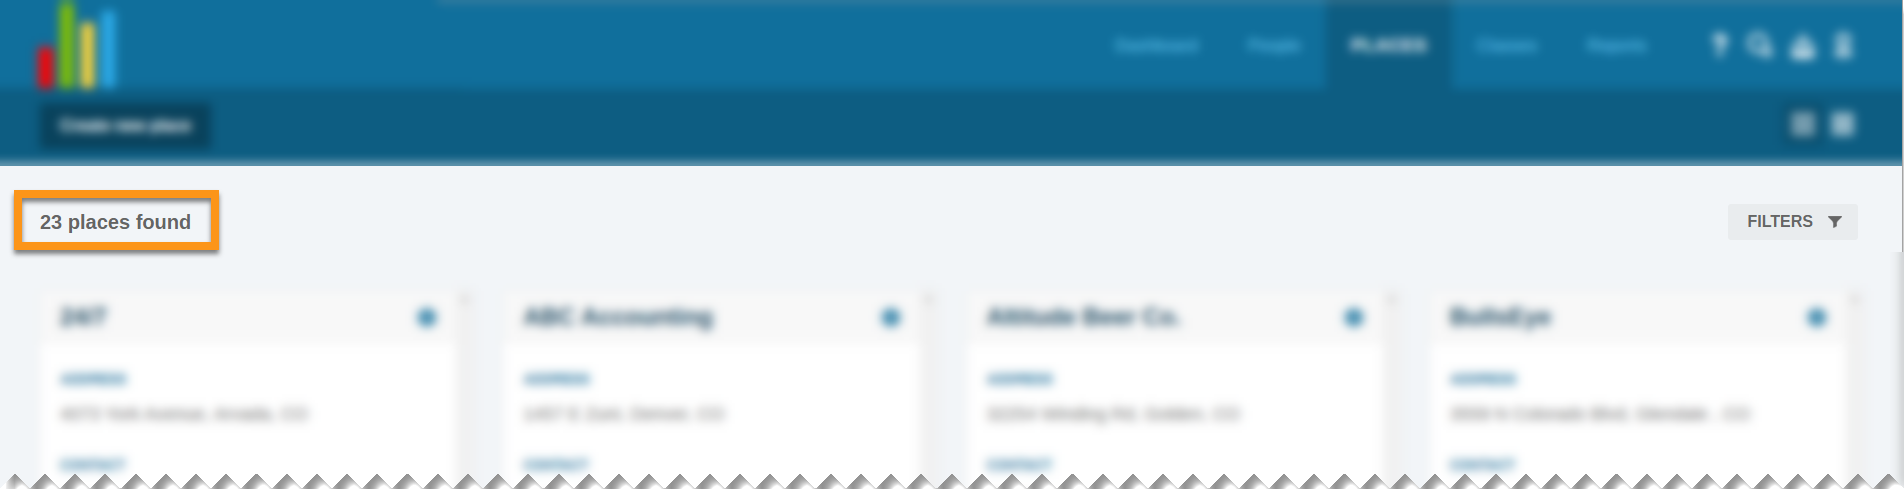
The places count will show how many Referral Agencies, Employers, and Educational Institutions are visible on the Places page with the current Filter selections.
back to Main Screen back to top
Important Notes About Filters
There are two important takeaways when using filters on the Places page:
- Filters will remain on the last selections until they are changed. Even if you log out, then back in again, your filter settings will be the same. If Places shown on the Places page do not seem correct, always check your filter settings first!
- Filters "stack" when multiple are used at a time. This means each filter applied will further narrow down places shown. Be mindful which filters you have set as some filters may conflict with each other!
back to Main Screen back to top
Filters

FILTERS ![]() will narrow down which Places are shown on the Places page based on each filter setting.
will narrow down which Places are shown on the Places page based on each filter setting.
Filter Places on Places Page
- Click Places from the system navigation bar
- Click FILTERS
 on the main page - area below will expand
 - From the four categories, select how you wish to filter your Places page:
- SORT
- Created
- Modified
- Name
- STATUS
- All
- Inactive
- Active
- Closed
- TYPE
- Education
- Employment
- Referral Agency
- NAME
- Enter the name of the Place to filter results below - click the X to remove the filter
- SORT
back to Main Screen back to top
Places List
Places information tiles will always display the same information, regardless of grid or list view.

- Place name
- Address
- Contact
- Name
- Phone number
- Place Type
- Place Status
Click View to open the place.
Comments
0 comments
Please sign in to leave a comment.